Tuesday, February 28, 2017

                           Ten step's to wash a car 

First get your car out of wherever you keep it
Then get a hose fill up a bucket with hot water
Then get a buy the proper equipment (listed down below)
Once you've set up all the proper ingredients your ready to officially start
First shoot your car with the hose after you hook it up
second dip your brush into the car soap and bash your car with the brush
Third after gently rubbing your brush on the car shoot it with the hose
Forth do that again to the same side of the car so you can get it as clean as possible
Fifth after you hose it off again move to the other side of the car and repeat the process
Sixth when you wash the windows dry them off with a towel to prevent wet spots
Seventh make sure to repeat this process on all four sides
Eighth its time for the rims get your wash mite and go to town
Ninth shoot your hose at the rims (all four) and your almost done
Tenth put everything away because you are done son.                     
 Image result for car dirty      
as you see from these photos if you complete the process right your dirty car shall 

Image result for car wash slowly become a hummer and never get dirty again (not actually proven)
 Image result for hummer

First step is to get the proper equipment like
  • a bucket
  • a brush
  • a sponge
  • a hose/hot water
  •  a car
  • car soap
  • free time to wash your nasty car

Monday, February 27, 2017

the best crepes ever 8)

justification : I picked this topic because i love to cook. I love to watch things that i made turn out good. Or even better than good. It makes me so happy. The real reason i picked this topic is because iv made crepes so much that i know the recipe by hart. You could practically call me a pro by know.Another thing i love about crepes is that they tastes so darn good ! I can never get enough of them.

what you will need:;
a bowl
hand mixer
4 eggs
1 cup flower
1 cup sugar
1 cup warm water
4tbsp warm butter
1 cup warm milk

Steps: The first Step you need to do is take out a medium size bowl.Put one cup of flower then 4 egg. Next you would need to get a cup of butter and milk. You would then heat up your milk and butter and poor it in the bowl with the rest of the ingredients. Then you would put your sugar in. Put as much sugar as you want.The last and final step is to mix. I like to use a hand mixer but you can use anything you want.After your done making your lovely crepe recipe you would put a pan on the stove. Preheat for 4 mins before starting. Mix well before poring on pan. Make sure there golden brown before you flip. When all done you should have golden brown crepes. All that is left to do is enjoy and dig in. :)

Image result for crepes Related imageImage result for crepes


Eyebrow Tutorial 


Justification
 If you ain't got no eyebrows you came to the right place!  One reason I picked this topic was for people to be inform on how and and why people do there eyebrows . eyebrows gives your face a structure and defines the shape of your face. Different people have different shapes and sizes or have no brows which makes everyone unique. Some people like to fill in there brows most of the people who do fill in there brows are not self conscious of their natural brows. A lot of people who do fill in their brows have different techniques and use different products to make their eyebrows define their shape of their face.

Task Overview
The end product of filling in your eyebrows will  boost your confidenc. And will make the shape of your face stand out .  The more you get use to doing your brows the easier the steps will be , and faster to do. But this process isn't for everyone, some people don't have to fill in there brows, cause either they feel more confident in there natural brows or don't feel right with there filled in brows in .

Tools you'll need 

1: angled brush 
2: spoolie brush 
3:  Eyebrow Pomadie 
4: counclier 
5: counclier brush 
6: eyebrow powder 
7: eyebrow gel 

Steps on how to begin brows

1: use spoolie brush to brush out your brows 
2: outline the bottom of  the brows and shape them any way you'd like with  eyebrow pomadie 
3: outline the top of your brows 
4:  then fill in brows 
5: council the bottom of your brows 
6: councli the top of your brows 
7: councli the front of your brows 
8 :  blend counclier with a counclier brush 
9: step brows with eyebrow powder 
10: use eyebrow gel when done 


Image result for eyebrow tutorial
Image result for eyebrow concealer top and bottom


Image result for eyebrow tutorial
Vocabulary
1;  angled brush 
2: spoolie brush 
3;  Eyebrow Pomadie 
4: counclier 
5: counclier brush 

https://www.youtube.com/watch?v=VKqwQnkzvTI
https://www.youtube.com/watch?v=qD-jikaYogI


Katie Ingram


Justification: I chose to teach people to make Chocolate Chip Cookies because they are amazing. They make people happy when there sad with a big glass of milk. Also, cookies are so soft. When there straight out of the oven they are so fluffy and chocolaty.

Image result for kitchenaidOverview: Chocolate Chip Cookies are made every single day by many different people, they are soft when you bite into it. How do people not love cookies, there so yummy. I know some people don't like chocolate chips you could use different kind like butter scotch or if you don't want to use any you don't have to.

Steps:
1.) Get cook book out
2.) Get the Kitchen Aid out 
3.) Preheat oven to 350 degrees
Related image4.) Get all of your ingredients out (Flour, eggs, salt, butter, baking soda,etc.)
5.) Mix wet ingredients in the mixer
6.) In another bowl mix the dry ingredients
7.) Start pouring the dry ingredients to the wet ingredients in the Kitchen Aid
8.) Mix until all is mixed together
9.) Get a baking sheet out 
10.) Grease the pan
11.) Put cookies on the baking sheet
12.) Bake for 8-10 minutes 

Vocab:
Chocolate Chipsa small piece of chocolate used in making cookies and other sweet foods.
Ovenan enclosed compartment, as in a kitchen range, for cooking and heating food.
Kitchen Aidis an American home appliance brand owned by Whirlpool Corporation.
Related imagePreheatheat (something, especially an oven or grill) beforehand.
Bakingcook (food) by dry heat without direct exposure to a flame, typically in an oven or on a hot surface.

Additional Info Links: 
https://soulfullysweet.com/product/chocolate-chip-cookies/ 
http://www.zenobiasweettooth.com/product/chocolate-chip-cookies/ 


                                                How To Make Pastes

justification

  I chose to this tutorial because i want to teach people how to make Pastes.I am making this because it taste good.I like it because my mom makes this and it is the best.It just taste good everyone should enjoy it.


Task Overview
First you need to get all the ingredients. Second do step 1-11.After That eat it


Ingredients

Dough:
4 cups flour
Half cup shortening, at room temperature
3 teaspoons baking powder
* 1 teaspoon salt
* A cup of milk

Stuffing:
1 lb. potatoes, diced to small cubes
1 lb. ground beef or steak meat, sliced
* One Leek thinly sliced ​
* 2 tablespoons chopped parsley (or to taste)
* 3 serrano chiles, seeded and chopped
* Salt and pepper

Green Salsa:
* 1 avocado
* 2 serrano chiles
* 2 tomatillos or green tomatoes
* one onion
* Fresh cilantro leaves


Steps

1) Put the meat in a bowl add raw cubed potatoes and leeks, parsley, and chiles, mix everything with some oil.
The dough:
2)Put Salt and pepper in the bowl and mix it together.
3)Add The shortening and stir with a fork or scrape
4) Sift flour 3 times and mix it with salt and baking powder
5) Add the milk little by little and knead until dough stays together; stop adding milk when then dough gets right texture. Knead a little more, then leave the dough in the refrigerator for thirty minutes.
6) Sprinkle some flour over the flat surface you will use to roll the dough; with a rolling pin flatten the dough then cut out 6 inch circles.

7) Preheat the oven to 350 °F,

8) Beat an egg; place the filling over each dough circles, fold and seal each one with a fork; brush them with the egg to make them shiny. Arrange on a baking sheet greased and floured baking, also barnízalos out.

9) Bake 40 minutes at 350 °F (varies in every oven, so keep an eye on them)

10) While the pastes are baking, we can make the salsa to accompany the pastes: using a blender, Blend green tomatillos, boiled onions, cilantro, avocados and one or two boiled green serrano chiles

Additional Resource 

http://www.jamieoliver.com/recipes/recipe/easy-homemade-curry-pastes/

https://www.familyeducation.com/fun/art-supplies/homemade-glue-paste-recipes

Vocab
Bake
Filling
Seal
Brush
Arrange


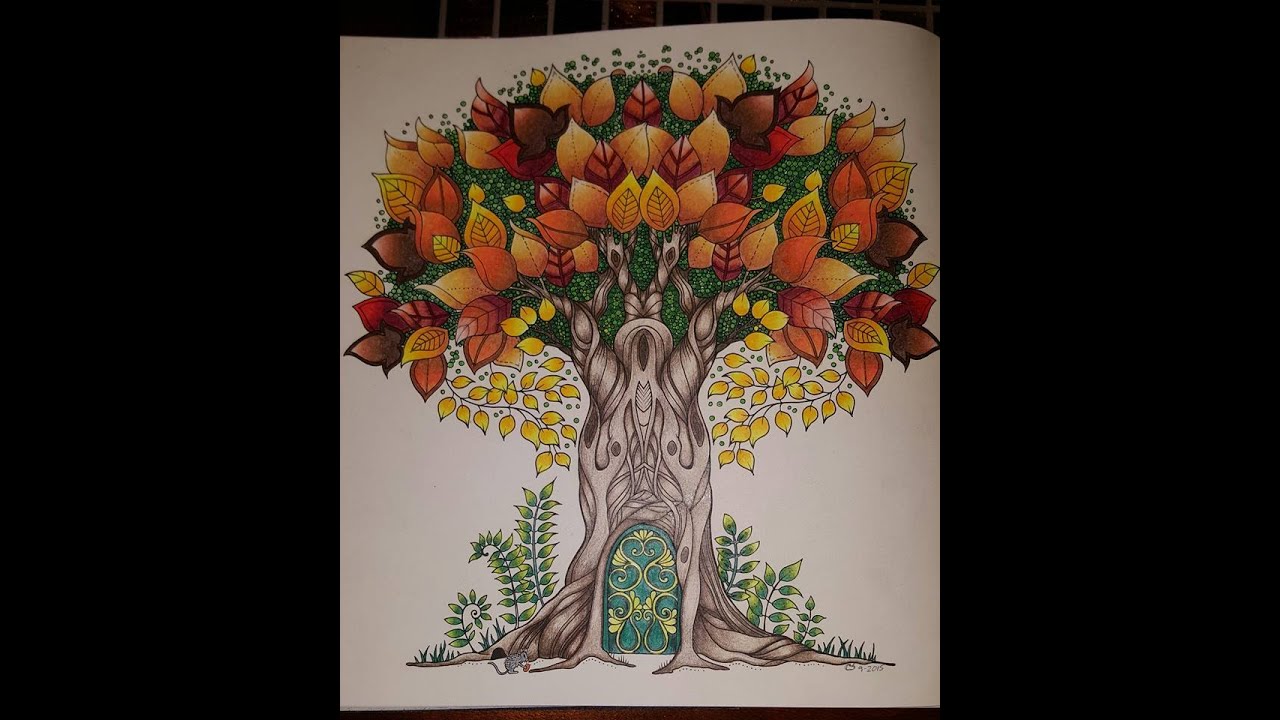
Coloring in a book or on a page

 Justification:
     I choose this skill because it helps me calm down when people I love can't help me. This skill is important to me because I remain calm and it helps me to try and fall asleep. Coloring is a joy that I have and my friends and family like to see what I can do to a blank coloring page. Coloring is my hobby and I really enjoy doing it. 


   Task Overview :
     When you finish your coloring page you will have wonderfully done picture. You get to look at such a wonderful piece of work by your hand. You might even mount it on your wall. You will get to see a wonderfully colored piece of art. 


Materials: 
Markers 
Colored Pencils
Pens 
Coloring Page 
Coloring Book
 Hard surface
  Steps :
1.Get out coloring book or page
2.Get Markers or colored pencils or pens
2.5. Make you find a page that interest you so you don't get bored of it   
3. Make sure the markers won't bleed through the page you are going to color
4. When using colored pencils blend colors together to make new ones
5. If the page is in a book don't rip it out
6. When you finish your coloring page that isn't in a book get some cardboard
7.  Put the cardboard with the page you colored on it when you want it on the wall
8. When putting stuff on the wall make sure it is okay with your parents
9. Hang it up where you can see so you can see your wonderful work
10.  Do the same thing with another page unless it is in a book.
Vocabulary :
Coloring-The process or skill of applying a substance to something so as to change its original color
Book-  A bound set of blank sheets for writing or keeping record
Hard surface- Something hard as a table or binder to write or draw on 
Pens- To color or mark with
Markers- Color with or write with 

Links:
 http://www.hellokids.com/r_2294/coloring-pages/create-your-own-drawing
https://www.youtube.com/watch?v=BBPFUNOzQ7g
http://www.thecountrychiccottage.net/25-free-adult-coloring-pages/


Friday, February 17, 2017

Blog Post Instructions + Example

Justification

Some informational texts provide instructions for how to do something. You often see these sort of tutorials shared on blogs. Blogger is a site owned by Google that allows you to create a blog using your Google login information. You will be using Blogger to write your DIY for class. One of the first steps you will do is a task analysis. A task analysis breaks down the most important parts and steps of a task. You have to ask yourself what is absolutely necessary for the reader to know. This way you include all essential information, but not so much information that it is confusing to follow. Writing informational texts is important because communicating how something needs to be done can be very beneficial. You complete task analysis all the time without realizing it whenever your mind is presented  with an unfamiliar challenge. By creating this DIY you will practice your the skill of not only teaching a task, but how you best learn.

Task Overview
In the end you will have a blog post that contains the materials someone will need to complete the task you choose. This blog will contain a justification for the task, a task overview, necessary materials, the steps they need to follow, vocabulary they may need to learn, and additional resources for the reader to access. Consider your peers as your reader, but imagine that they have never completed the task you chose on their own before. You will share your drafts with each other in order to get feedback about the kinds of questions a reader might have when following your DIY steps. Below are the 'materials' needed for your DIY Blog Post.

Your Blog Must Include the Following:

  • Paragraph on justification (WHY did you choose this task)
  • Task Overview (brief description of the end goal)
  • materials list
  • step by step instructions (absolute tasks)
  • pictures for at least 3 of your steps
  • considered variables (an 'If' statement)
  • term definitions
  • additional resources for reader (links)
Steps:

  1. Check your email for the invitation to be an author on our blog.
  2. Sign in using your Google credentials and choose 'Limited Blogger Profile'
  3. Your 'Display Name' should either be your first and last name or first name and last initial.
  4. Refer to these directions and this example blog as needed. There are many options for formatting. Keep it simple and ASK if you need any help at all.
  5. Remember to hit the 'Save' button often to keep your work from vanishing into the void of the internet.
  6. To insert photos click the insert photo button.  Photos you want to add must first be saved on your Google Drive. If you need help uploading original photos you have taken, I can help you with this. You may use photos your find online rather than taking your own.
  7. Make sure to include your materials in a bulleted list after writing your JUSTIFICATION and TASK OVERVIEW.
  8. Your list of steps should be a numbered list.
    • Bulleted and Numbered Lists are created with these buttons: 
  9. In your list of steps include an 'If' statement. For example: IF you are working on your blog from home, don't forget to login using your school Google login information.
  10. Include your vocabulary list (at least five words) and your links to additional resources (at least two) at the end of your post. 
  11. You can SAVE your post as you write and come back to it, though a lot of your writing will be done in Google Docs. If you need to Preview the formatting and appearance of your blog post or your are ready to publish it, use the following buttons when writing a post.
Vocabulary:
task analysis- reviewing a task to determine its most essential parts; variables- possible differences in approaches or materials on hand; justification- the reason for doing something; overview- a summary of something; DIY- means Do It Yourself

Additional Resources:

Thursday, February 2, 2017

Reading Response TWO

In a comment below write a reading response to your reading today. 


Answer the following questions:
1. Title of your book/reading:
2. Author of your book/reading:
3. 3-4 Sentences summarizing what you read today.

😎